Segment and Annotate
Ultralytics instance segmentation adds a mask to every detected instance. This pipeline keeps the native result intact until the final plotting step, where Ultralytics renders masks, boxes, labels, and confidence values.
| Before | After |
|---|---|
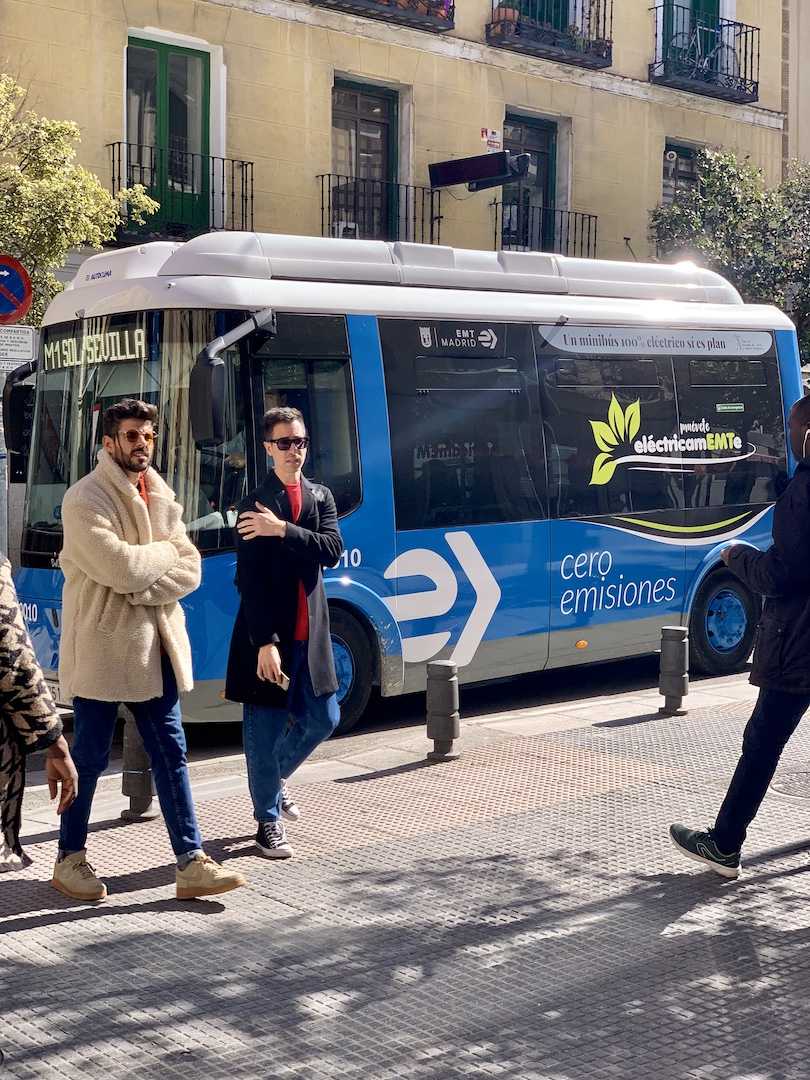 |
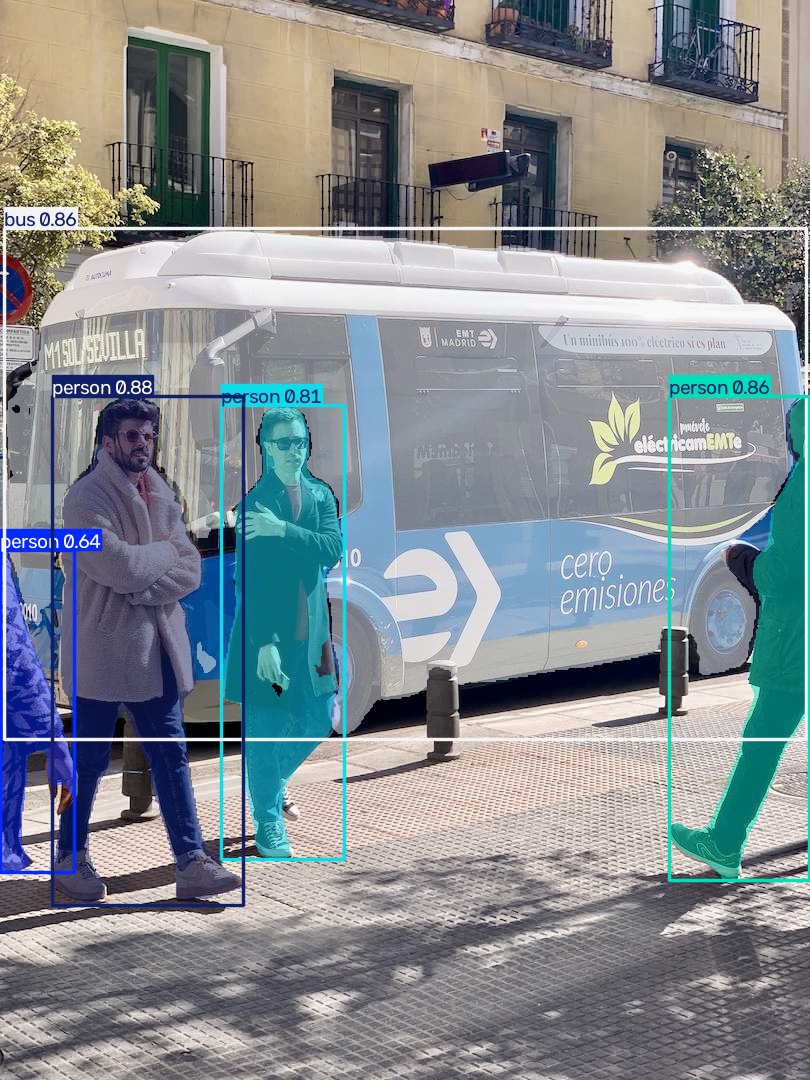 |
Build the pipeline
Use a segmentation checkpoint and select the one result for the input image.
color_mode="instance" gives each detected instance its own mask colour.
from ml_pipes.core import Pipeline
from ml_pipes.standard import Select
from ml_pipes.ultralytics import results, yolo

pipeline = Pipeline(
    [
        yolo.Predict(model="yolo26n-seg.pt", conf=0.25),
        Select(0),
        results.Plot(
            boxes=True,
            labels=True,
            conf=True,
            color_mode="instance",
            save=True,
            filename="segmented.jpg",
        ),
    ],
    auto_validate=True,
)
Run it on an image
The call boundary contains data only: model and plot configuration were fixed when the pipeline was built.
import cv2

image = cv2.imread("bus.jpg")
if image is None:
    raise RuntimeError("Could not load bus.jpg")

annotated = pipeline(image)
cv2.imwrite("segmented-copy.jpg", annotated)
Run the example
python examples/run_segment_and_annotate.py
python examples/run_segment_and_annotate.py --source path/to/image.jpg --show
See run_segment_and_annotate.py
for all command-line options.